Hey there! As a supplier of building cutter knives, I've seen firsthand how these tools can make a huge difference in various construction and DIY projects. One of the most challenging tasks for many users is cutting curves with a building cutter knife. In this blog post, I'll share some tips and tricks on how to use a building cutter knife for cutting curves effectively.
Choosing the Right Knife
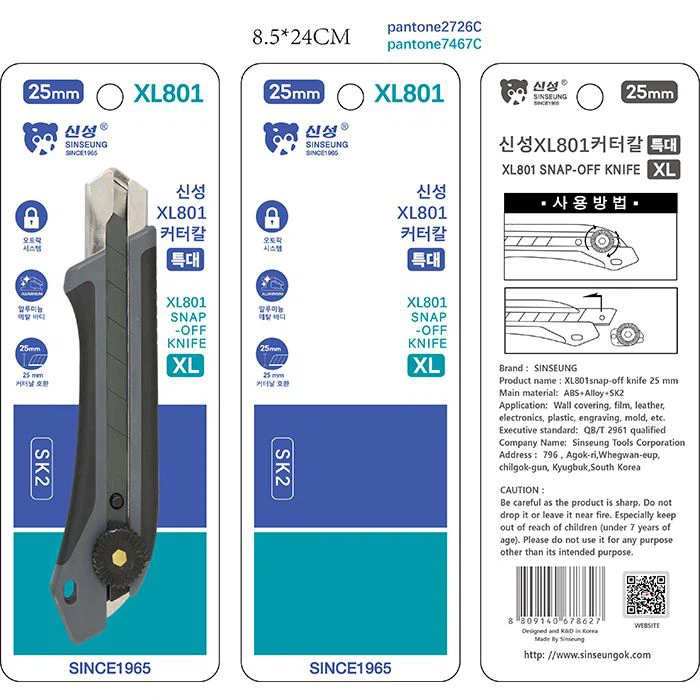
First things first, you need to pick the right building cutter knife for the job. We offer a range of high - quality knives, like the Snap Off Knife SK2 25MM. This knife is great because it has a snap - off blade design. When the blade gets dull, you can simply snap off the used part to expose a fresh, sharp edge.
Another option is the 25 mm Metal Body Snap - Off Utility Knife. The metal body gives it extra durability, which is super important when you're making precise cuts, especially curves. And if you're looking for something heavy - duty, the Heavy - Duty Snap Off Replacement Utility Knife is a top choice. It can handle tough materials without a problem.
Preparing Your Workspace
Before you start cutting curves, it's crucial to prepare your workspace. Make sure you have a flat and stable surface to work on. You don't want the material you're cutting to move around while you're trying to make a curve. Also, gather all the necessary tools, like a ruler, a pencil, and some sandpaper.
Mark the curve you want to cut on the material. You can use a flexible ruler or a piece of string to create the shape. Once you've marked the curve, double - check it to make sure it's the right size and shape.
Holding the Knife Correctly
The way you hold the building cutter knife can greatly affect the quality of your curve cuts. Hold the knife firmly but not too tightly. You want to have good control over the blade, but you also don't want your hand to get tired quickly.

For most curve cuts, a grip where your index finger is on top of the blade near the tip can give you better precision. This allows you to guide the blade along the marked curve more easily. Keep your wrist steady and try to move your whole arm in a smooth, flowing motion as you cut.
Making the Cut
Now, it's time to start cutting. Start at one end of the marked curve. Apply gentle pressure on the blade as you begin to move it along the curve. Don't try to cut through the material in one go, especially if it's thick. Make multiple passes instead.
For each pass, cut a little deeper into the material. This helps to prevent the blade from getting stuck or the material from cracking. As you move along the curve, keep your eyes focused on the marked line. If you find that the blade is starting to veer off the line, stop and adjust your position.
Tips for Different Materials
- Cardboard: Cardboard is relatively easy to cut curves in. You can use a light touch with the building cutter knife. Since cardboard is thin, you may be able to cut through it in one or two passes.
- Foam: Foam is a bit more forgiving when it comes to curve cuts. But be careful not to press too hard, as it can compress the foam and make the cut look uneven. A slow and steady motion works well for foam.
- Plastic: Plastic can be a bit tricky. It may require more pressure than cardboard or foam. If the plastic is thick, you may need to score the curve first with a lighter cut and then gradually deepen it.
Finishing Touches
Once you've cut the curve, you may notice some rough edges. Use sandpaper to smooth them out. This gives your project a more professional look. You can start with a coarse - grit sandpaper to remove the major roughness and then switch to a finer - grit sandpaper for a smoother finish.
Troubleshooting
- Blade Dulling Quickly: If you find that the blade is dulling quickly, it might be because the material is too hard for the blade. Consider using a heavier - duty blade or a different type of knife. Also, make sure you're using the right cutting technique. Applying too much pressure can also cause the blade to dull faster.
- Curve Not Smooth: If the curve doesn't look smooth, it could be due to an uneven grip or an inconsistent cutting motion. Try to relax your hand and make sure you're moving your arm in a more fluid way. You may also need to make more passes with the knife to even out the cut.
Conclusion
Cutting curves with a building cutter knife takes practice, but with the right tools and techniques, you can achieve great results. Whether you're working on a small DIY project or a large - scale construction job, our building cutter knives are designed to help you get the job done.
If you're interested in purchasing our high - quality building cutter knives, feel free to reach out for a procurement discussion. We're always happy to help you find the right knife for your needs.
References
- Construction Tools Handbook: A Guide to Using Utility Knives
- DIY Project Magazine: Tips for Precision Cutting with Building Knives